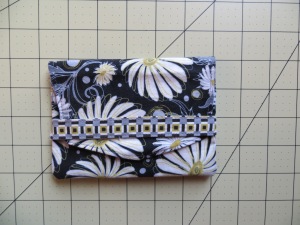
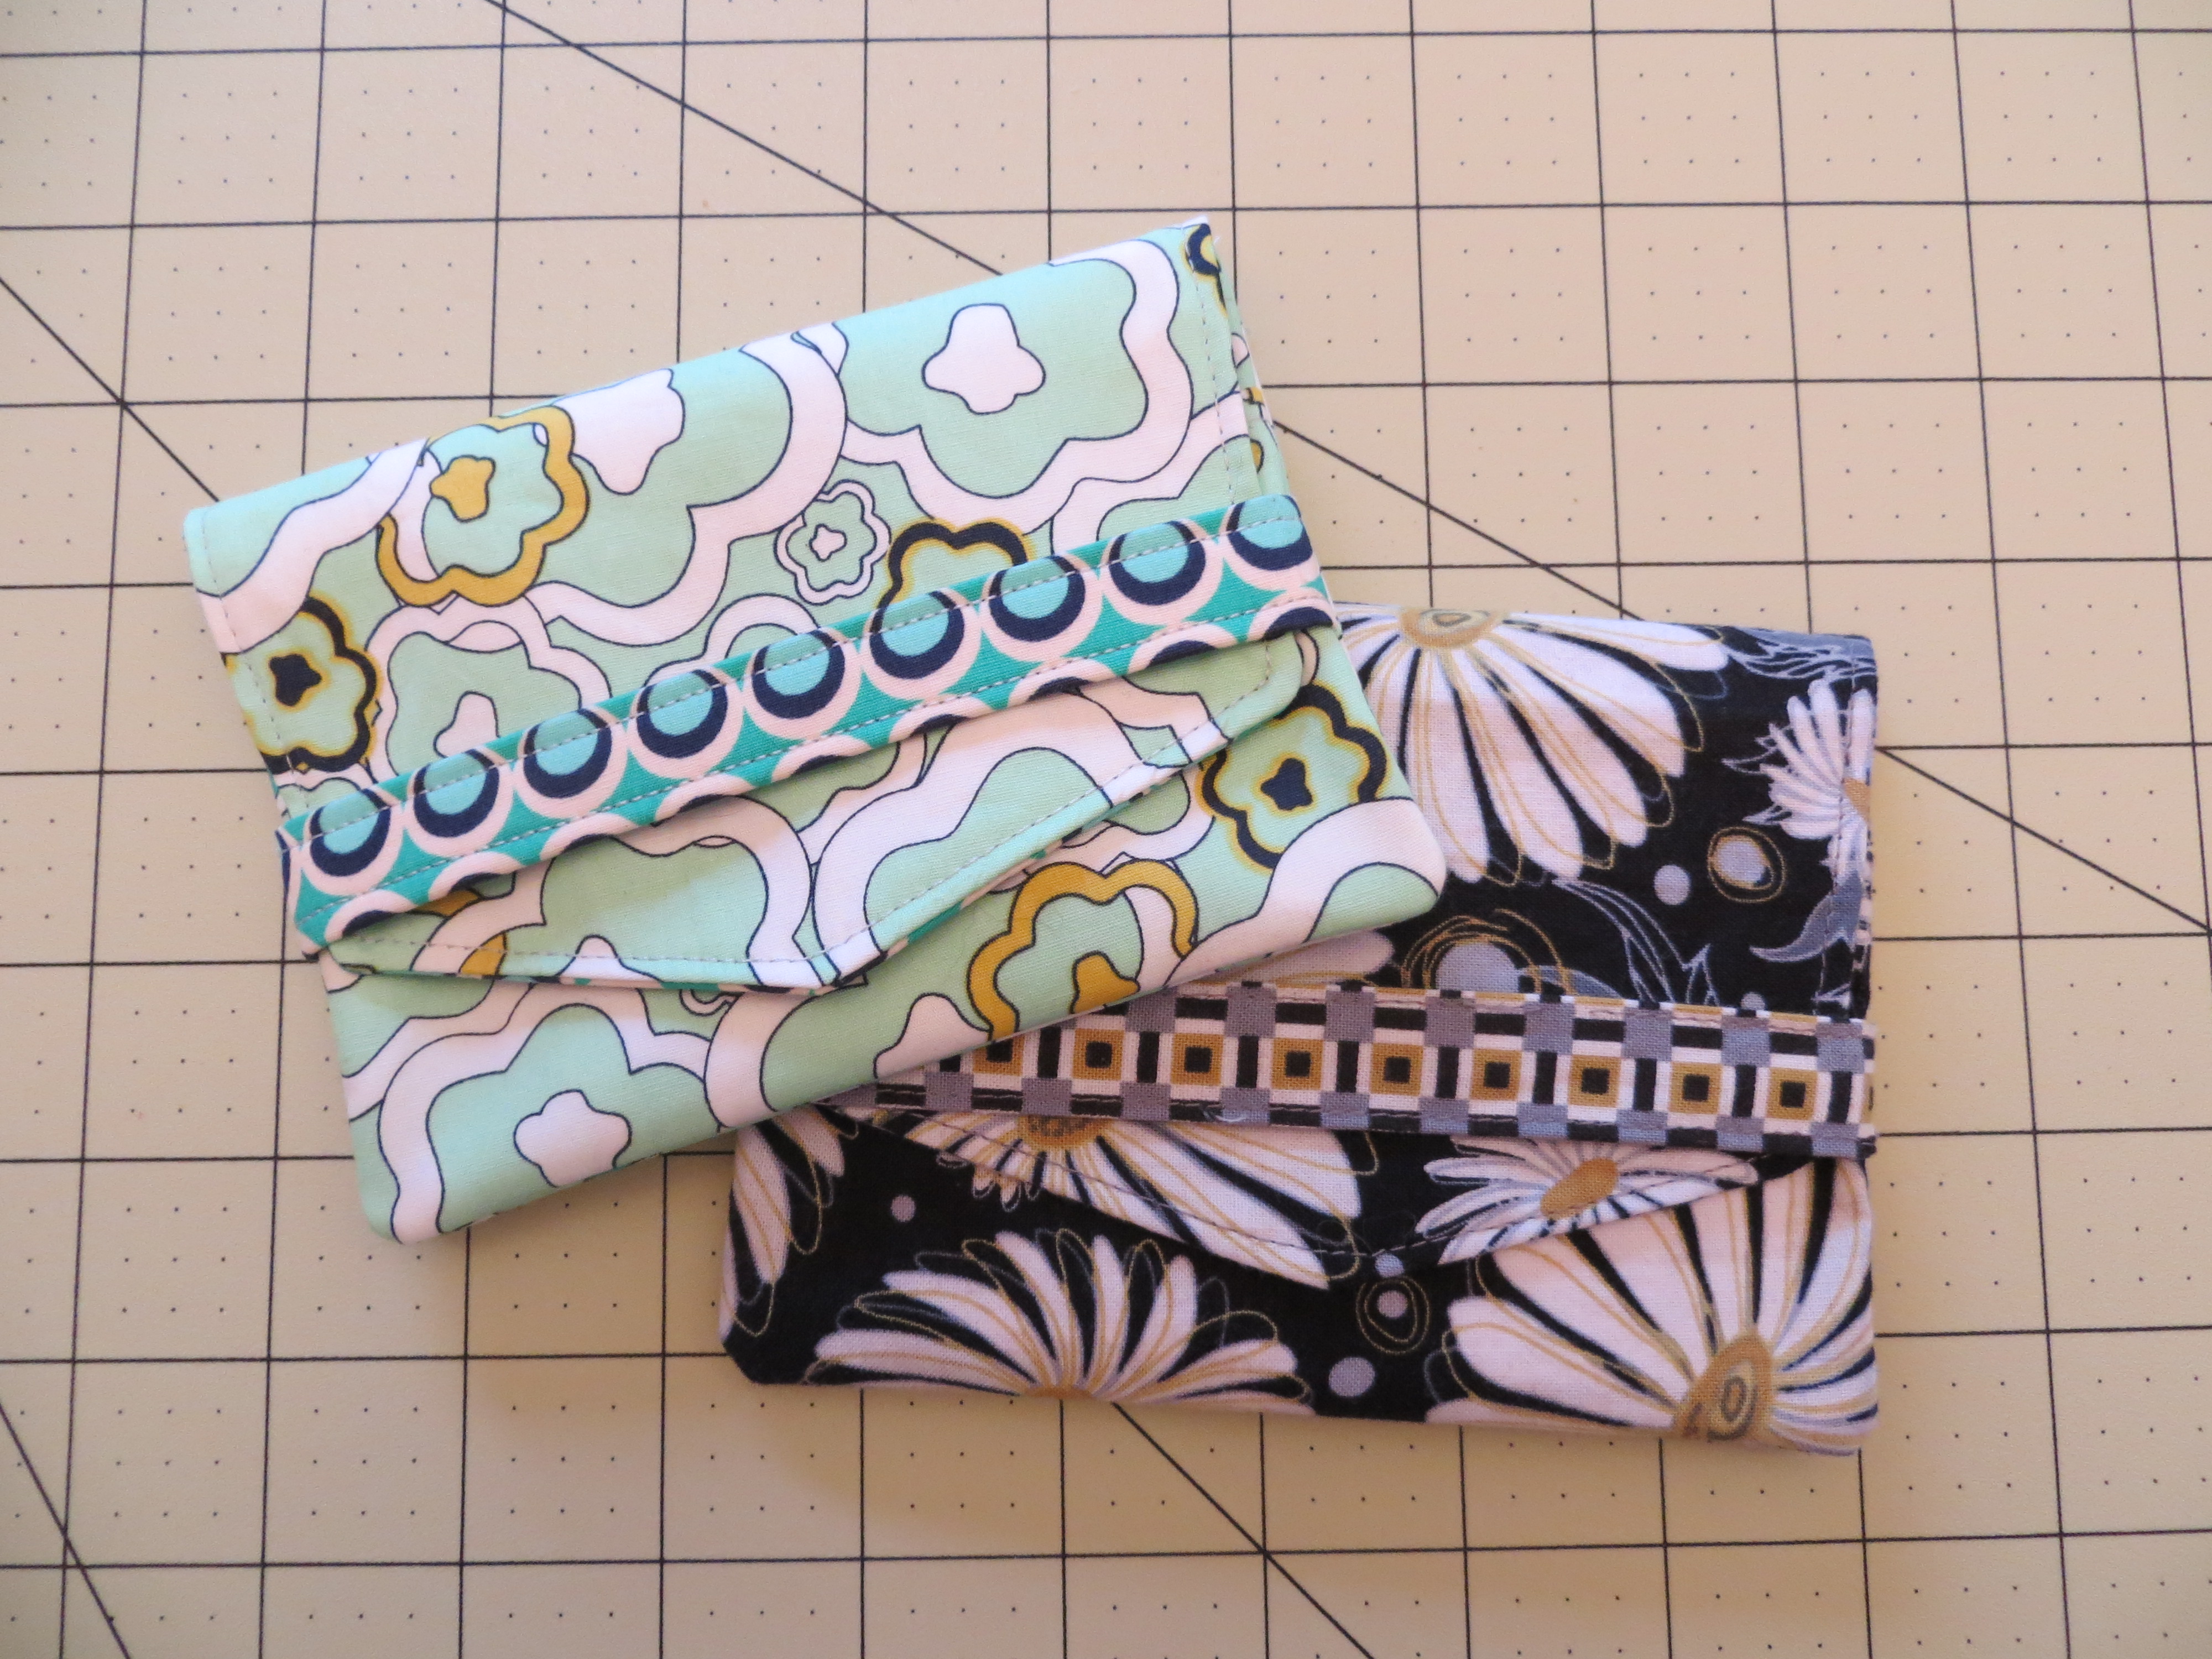
Welcome! This is a tutorial for a receipt holder–a little case to hold the receipts that would otherwise be floating around in your purse. These also work great as a place to keep gas receipts for the glove compartment of your car.
This is part of a series of tutorials I’m putting together for purse accessories to organize the inside of your purse.
Yep, you try to organize your receipts in a pocket but then one day you’re in a hurry at the gas station and you just stuff your receipt in a different pocket. Then over time all of the pockets in your purse have receipts and you no longer care. So, the next trip to the grocery store, you just stuff it in your purse ’cause it’s all a big mess anyway?
Am I the only one that does this?
Probably not.
So, this is a tutorial to make an easy case to hold receipts. It has 2 pockets and NO ZIPPERS. A zipper is a fine thing, but I wanted to make this the easiest project possible.
So, let’s get started.
Materials
Cut out the following:
Main Fabric
- Cut one piece 8″ H x 6″ W for exterior.
- Cut one piece 4-1/4″ H x 6″ W for pocket #1.
- Cut one piece 3-1/2″ H x 6″ W for pocket #2.
Coordinating Fabric
- Cut one piece 8″ H x 6″ W for interior.
- Cut one piece 2-1/2″ H x 6″ W for flap closure strap.
Interfacing
Light to Medium weight fusible interfacing, such as Pellon Shapeflex (SF101).
- Cut one piece 8″ H x 6″ W for exterior
- Cut one piece 4-1/4″ H x 6″ W for pocket #1.
- Cut one piece 3-1/2″ H x 6″ W for pocket #2.
- Cut one piece 8″ H x 6″ W for interior.
- Cut one piece 2-1/2″ H x 5-1/2″ W for flap closure strap.
Sewing Instructions
1. Fuse interfacing to the wrong side of corresponding fabric pieces. Center the strap interfacing onto the strap.
2. Finish top edge of pocket #1
- Zig-zag upper edge of pocket to prevent fraying.
- Fold upper edge of pocket 1/2″ toward wrong side of fabric and press.
- Topstitch 1/8″ from upper edge.

Step 2
3. Finish top edge of pocket #2
- Follow Step 2 to finish upper edge of pocket #2 in the same manner as pocket #1.

Steps 2 and 3
4. Attach pockets
- Place pocket #1 on interior piece, aligning bottom edge and sides.
- Place pocket #2 over pocket #1, aligning bottom edge and sides.
- Baste sides with a 1/8″ seam.
- Baste bottom edge with a 1/8″ seam.

Step 4
5. Sew flap closure strap
- Fold 3″ H x 6″ W strip in half along long side (to be 1-1/2″ x 6″).
- Open strap up and fold long sides in to meet along center fold. Press.

- Fold again along center fold (to be 5/8″ x 6″).
- Topstitch long sides 1/8″ from edges.

Step 5-2
6. Attach strap
- Place bottom edge of strap 1-3/4″ up from bottom edge of receipt holder.
- Baste 1/8″ from sides.

Step 6
7. Trim interior and exterior pieces
- Place Exterior piece over Interior piece, right sides together. Pin along bottom and in center.
- Mark top center and mark 1″ down from top right corner and top left corner. Align ruler along line from top center to 1″ markings and trim on both sides, as shown below.

Step 7
8. A little more trimming on upper sides
- Trim right side at an angle starting 1/4″ in from upper right corner and ending at upper right side of pocket.
- Trim left side at an angle starting 1/4″ in from upper left corner and ending at upper right side of pocket.

Step 8
9. Stitch exterior to interior
- Starting 3/4″ down from upper left side, stitch around entire perimeter using a 1/4″ seam. Stop stitching about 2-1/4″ from starting point in order to leave an opening to turn receipt holder right side out.
- Clip corner seam allowances to reduce bulk in corners.

Step 9
10. Finish
- Turn receipt holder right side out. Press.
- Handstitching opening closed, if desired (or you can close it by topstitching below).
- Topstitch 1/8″ from edge along flap portion of holder.

Step 10
11. Go clean out your purse!
Thanks for stopping by. If you liked this tutorial, please tell your sewing friends, like me on facebook or pass the word around in a way that works for you. I’d “sew” appreciate it! 🙂
Lisa